终极指南:如何打造完美的 iTerm2 + Oh My Zsh 开发环境 定制你的 Zsh Shell - iTerm2、Oh My Zsh 和必备插件详解
首先是基于iterm2,因此先安装iterm2
Google搜索其官方网站,下载安装。或者直接使用brew cask的方式安装:
安装iterm2:brew install --cask iterm2
安装oh my zsh
依赖git,确保之前已经安装过git了
安装 oh-my-zsh:sh -c "$(curl -fsSL https://raw.githubusercontent.com/ohmyzsh/ohmyzsh/master/tools/install.sh)"
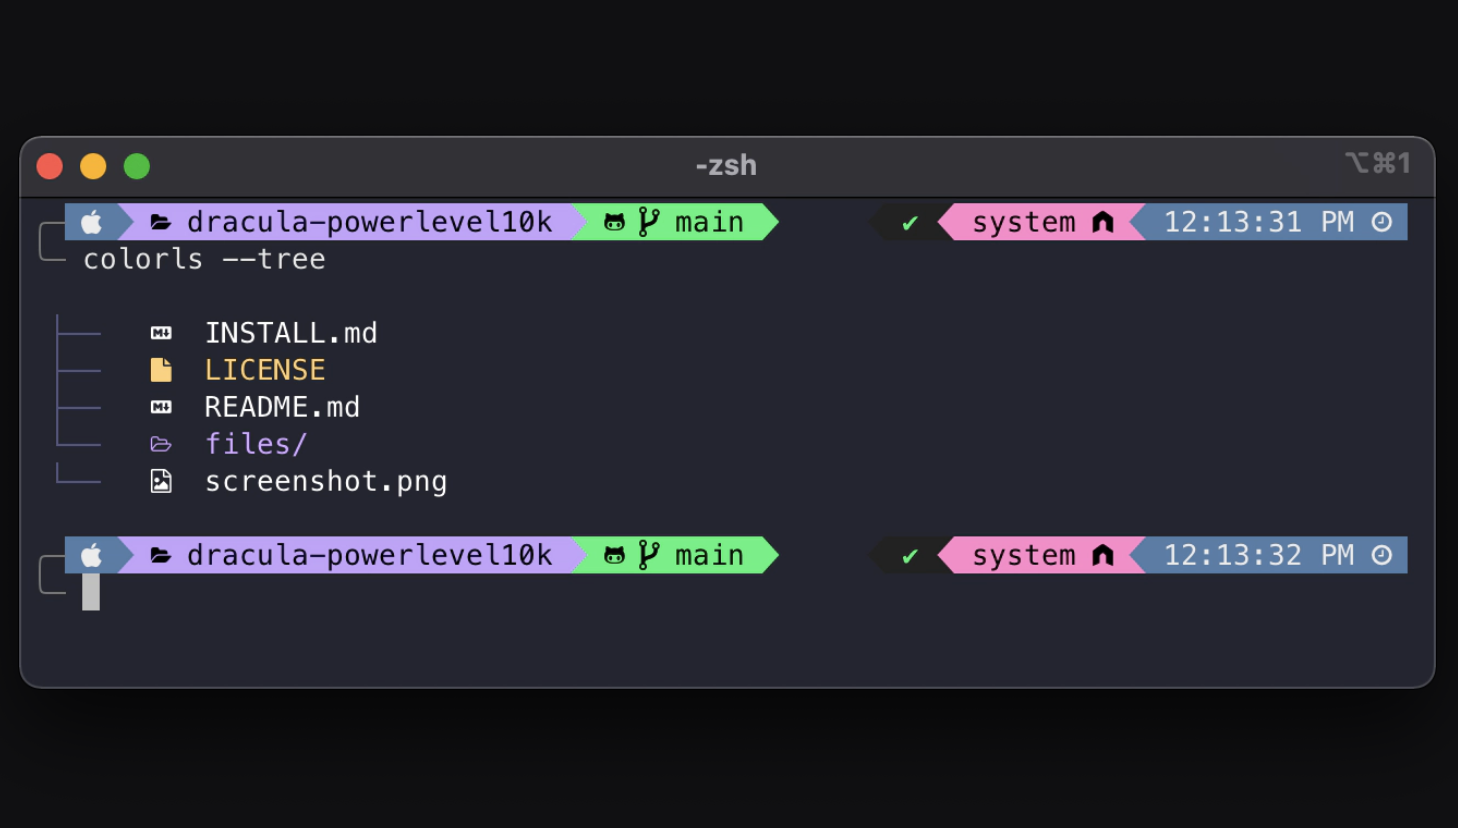
安装Powerlevel10k
git clone --depth=1 https://github.com/romkatv/powerlevel10k.git ${ZSH_CUSTOM:-$HOME/.oh-my-zsh/custom}/themes/powerlevel10k
使用vim打开~/.zshrc
修改
ZSH_THEME="powerlevel10k/powerlevel10k"
重启iterm2,进行初始化。后期想要变更配置的化,可以使用p10k configure进行配置。
关于字体,默认开的MesloLGS NF在VSCode/JetBrains/IntelliJ IDEA/PyCharm显示有问题
一般而言Powerlevel10k初始化过程中,会默认安装新的一个字体,MesloLGS NF。
假如使用jetbrain的IDE或者VScode,打开terminal时,字体会有问题,因此需要单独正对IDE同步做下字体的配置。
JetBrains:重启之后搜索font选择MesloLGS NF即可。
VSCode:需要在settings.json 中增加 "terminal.integrated.fontFamily": "MesloLGS NF"。
字体大小及主题配置
一些主题库:https://iterm2colorschemes.com/
有一款不错的主题:curl https://raw.githubusercontent.com/josean-dev/dev-environment-files/main/coolnight.itermcolors --output ${ZSH_CUSTOM:-$HOME/.oh-my-zsh/custom}/
设置字体:Open iTerm2 > preferences > Profiles > Text
安装插件
这边推荐安装三款插件:
zsh-autosuggestions: 这个插件提供命令行自动补全建议。当你开始输入命令时,它会根据你的命令历史记录和当前目录内容,在光标后显示灰色的建议。你可以使用右箭头键或 End 键来接受建议,大大提高了命令行操作的效率。
zsh-syntax-highlighting: 这个插件为 Zsh shell 中的命令提供语法高亮。它会在你输入命令时实时高亮显示,帮助你识别命令的正确性。例如,有效的命令会显示为绿色,而错误的命令会显示为红色。这有助于减少错误并提高命令行使用的准确性。
web-search: 这个插件允许你直接从命令行进行网络搜索。它添加了一些别名,让你可以快速在各种搜索引擎中搜索。例如,你可以输入 "google 关键词" 来在 Google 中搜索,或者 "wiki 关键词" 来在 Wikipedia 中搜索,无需打开浏览器。
git clone https://github.com/zsh-users/zsh-autosuggestions ${ZSH_CUSTOM:-~/.oh-my-zsh/custom}/plugins/zsh-autosuggestions
git clone https://github.com/zsh-users/zsh-syntax-highlighting.git ${ZSH_CUSTOM:-~/.oh-my-zsh/custom}/plugins/zsh-syntax-highlighting

# 打开~/.zshrc,配置:
plugins=(git zsh-autosuggestions zsh-syntax-highlighting web-search)

#最后source一下:
source ~/.zshrc
